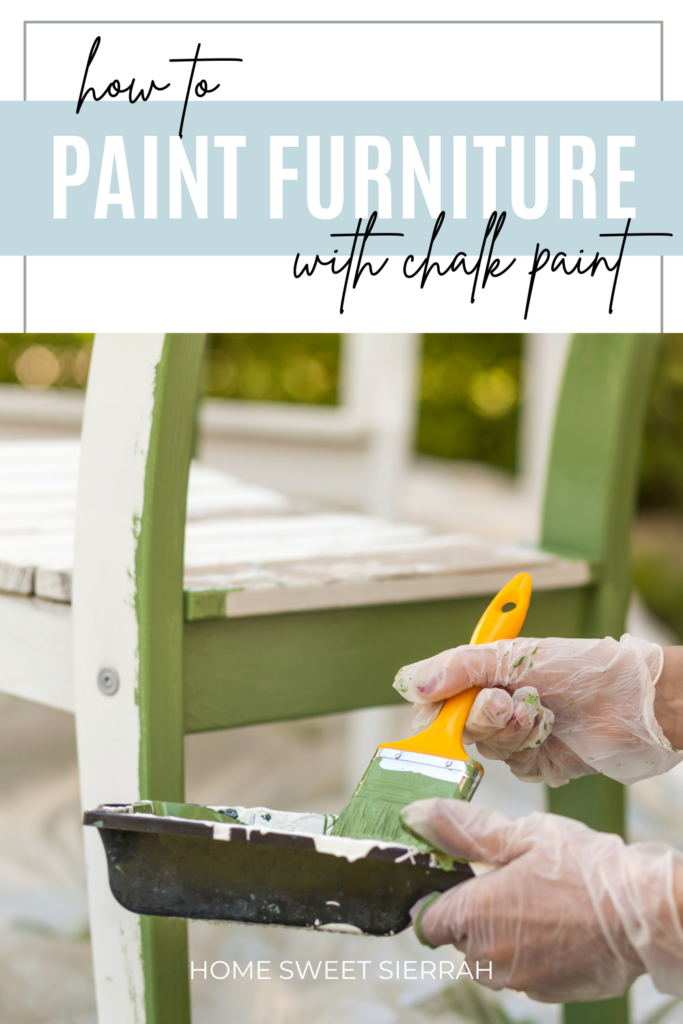
Painting furniture with chalk paint has become a popular DIY trend for those looking to revamp their home decor.
Chalk paint offers a unique matte finish that can give old furniture pieces a fresh, new look without the need for priming or sanding.
This paint is versatile and can adhere to almost any surface, making it a favorite among do-it-yourself enthusiasts.
Whether it’s a vintage find or a piece that’s been in the family for years, chalk paint can easily transform it into a statement item.
One of the charms of chalk paint is its ease of use.
Its thick consistency allows for great coverage, often requiring fewer coats than traditional paint.
Experimenting with different techniques, you can achieve anything from a shabby chic to a more modern style finish.
Also, chalk paint doesn’t have a long drying time, which means you can complete your furniture projects relatively quickly.
This post contain affiliate links. For more information, please read my disclosure here.
Preparing Your Furniture
Proper preparation is key when you’re ready to transform a piece of furniture with chalk paint.
Cleaning and Dusting
Before you do anything else, you must give the furniture a thorough clean.
A damp cloth can wipe away any dust and minor dirt.
For more stubborn grease and grime, warm soapy water is more effective.
After cleaning, allow the surface to dry completely.
- Materials Needed:
- Damp cloth
- Warm, soapy water

Sanding for Smoothness
Sanding may not always be necessary with chalk paint, but a quick once-over with a fine-grit sandpaper can ensure better paint adherence.
- Sandpaper Grit:
- Use 220-grit for a smooth finish.
Priming Surfaces
Primers aren’t always required with chalk paint, but if you’re working with a tricky surface or want extra durability, a primer can provide a great base.
Be sure the primer is compatible with chalk paint and apply it evenly.
- Primer Tips:
- Check for chalk paint compatibility.
- Apply evenly with a brush or roller.
Fixing Imperfections
Any cracks or chips in the furniture can be mended with wood filler.
Apply it as needed, smooth it out, and once it’s dry, sand it down to be flush with the rest of the surface.
This step ensures a flawless finish after painting.
- Repair Steps:
- Fill with wood filler.
- Sand smooth after drying.
Choosing Your Paint
Selecting the right chalk paint for a furniture project is crucial for achieving the desired finish.
Understanding Chalk Paint
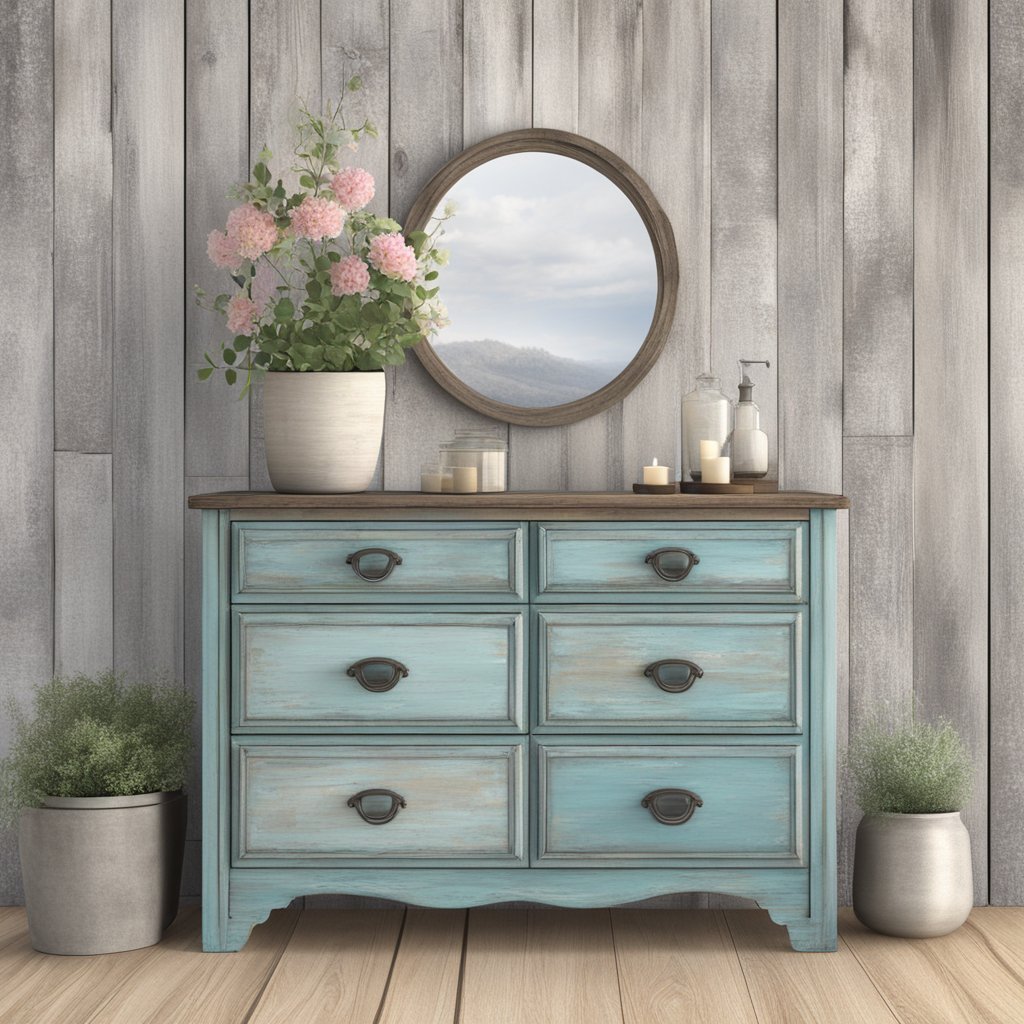
Chalk paint is well-loved for its matte finish and its ability to adhere to a variety of surfaces without the need for pre-sanding.
Brands like Annie Sloan are pioneers in this field, offering paints that are easy to work with and perfect for giving furniture an aged or distressed look.
Color Selection
Choosing a color can be one of the most enjoyable parts of the painting process.
Chalk paints come in a vast array of colors.
When selecting a color, think about the mood or atmosphere you’re trying to create in the space and how the furniture will contribute to that.
Bright colors can add a pop of joy to a room, while more neutral tones might provide a sense of calm.
Painting Techniques
When painting furniture with chalk paint, you have a couple of techniques at your disposal: using a brush or a roller for application, and strategies for applying coats of paint to create the desired finish.
The goal is to achieve an even application with the first coat and add personality with a distressed look, if desired.
Brush vs. Roller
- Paintbrush: Ideal for chalk painting, a paintbrush allows for a more textured finish with visible brush strokes. They are great at getting paint into nooks and crannies.
- Roller: Rollers can provide a smoother finish and can cover flat surfaces quickly. However, rollers might not be the best for intricate pieces with lots of details.
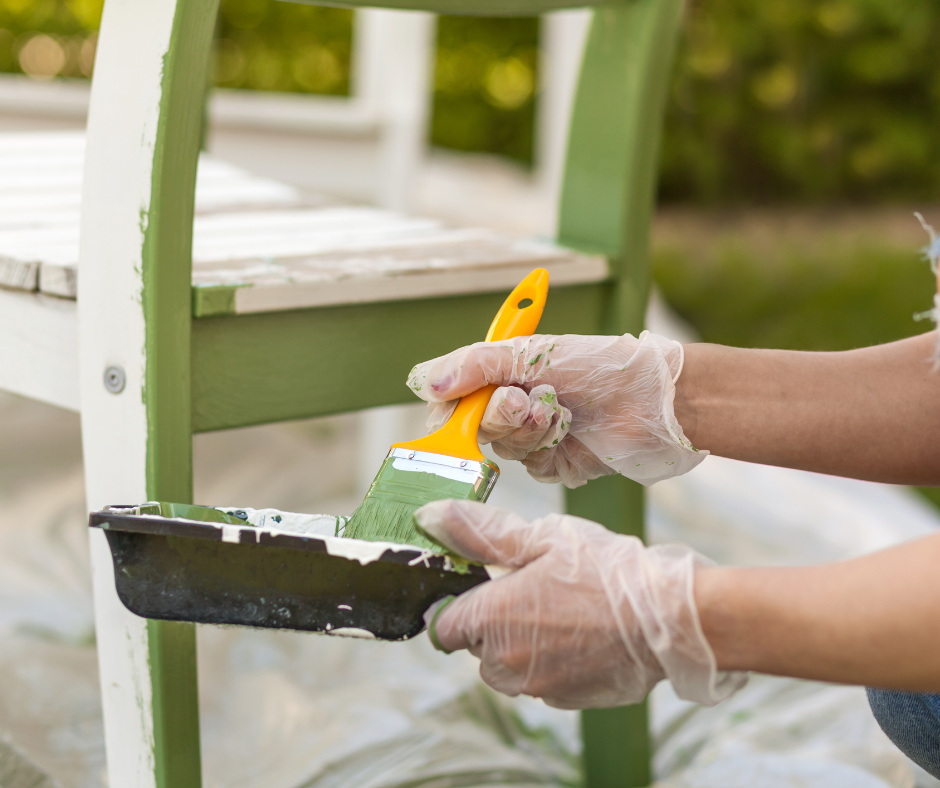
Applying the First Coat
- Preparation: Before applying, ensure the furniture is clean and dry.
- Technique: With a paintbrush, apply the first coat of chalk paint, moving the brush in all directions to cover every angle.
- Drying: Allow this coat to dry thoroughly, which can take 1-3 hours depending on the environment’s humidity and temperature.
Achieving a Distressed Look
- Sanding: After the second coat of chalk paint is fully dry, strategically sand areas of the furniture that would naturally show wear over time.
- Waxing: Applying wax after the final coat will seal the paint and add to the distressed look. Wipe away excess wax to complete the process.
Waxing and Sealing
When you finish painting furniture with chalk paint, sealing it with wax or another sealer is crucial for protection.
Waxing adds durability and creates a desired sheen or matte finish.
Applying Wax
To apply wax, one uses a wax brush or lint-free cloth, working the wax in thin layers over the dried chalk paint.
Ensure even coverage, gently massaging the wax into the surface and following the wood grain.
This process preserves the paint and enhances the furniture’s look.
Creating a Matte Finish
To create a matte finish, use a specific matte sealer or apply a clear wax appropriately.
The key is a light, even distribution of the wax, preventing any glossy spots that would detract from the uniformly flat look you’re aiming for.
Waxing furniture with this method shields the paint while maintaining the rustic, velvety texture that is often desired with chalk paint finishes.
Caring for Chalk Painted Furniture
To keep chalk painted furniture looking its best, regular cleaning and attention to any signs of wear and tear are essential.
Here’s how one can maintain the beauty and durability of these pieces.
Regular Maintenance
For routine care, it’s best to gently wipe the furniture using a soft cloth or sponge.
If a more thorough cleaning is needed, you should use a slightly damp cloth and mild soap.
It’s important to avoid harsh chemicals that can damage the protective wax coating.
After cleaning, the furniture should be immediately dried with a soft towel to prevent any water spots.
- Weekly Cleaning: Dust with a soft cloth.
- Monthly Cleaning: Wipe with a damp cloth and mild soap, then dry.
Handling Wear and Tear
Despite the best care, chalk painted furniture may show signs of wear over time.
To address this, you can apply a layer of wax paste to areas that see frequent use.
This helps in maintaining the finish and adding a layer of protection against future wear.
If the furniture suffers scratches or chips, a light sanding and reapplication of chalk paint followed by wax can restore its look.
- Scratches/Chips: Sand gently, repaint with chalk paint, and re-wax.
- High Use Areas: Periodically apply an additional layer of wax paste.
Adding Hardware and Decor
When it comes to accessorizing furniture, hardware can transform a piece from mundane to extraordinary.
For kitchen cabinets that have received a chalk paint makeover, choosing handles and knobs that match the style and era can provide both practical benefit and artistic flair.
On a dresser or sideboard, installing vintage brass pulls or modern minimalist knobs can offer a striking contrast against the matte finish of the chalk paint.
Final Touches and Display
Finding the right spot to display the newly adorned furniture is key.
Chalk painted furniture often becomes a focal point, so positioning it where it can be admired is important.
This can be in a prominent corner or as part of a cozy reading nook, for example.
Whether it’s a chalk-painted bookshelf stocked with curated accessories or a refinished table accented by an elegant centerpiece, the final presentation should showcase the furniture’s refreshed look and the added embellishments.
DIY Tips and Tricks
In this section, you’ll find a collection of handy strategies and methods designed to help DIYers get the most out of their furniture makeovers using chalk paint.
Whether you’re refreshing an old dresser or giving a modern twist to a thrift store find, these tips will help enhance your DIY projects.
Working With Different Materials
When dealing with wooden furniture, most chalk paints adhere well without too much prep work.
However, it’s still beneficial to lightly sand the wood surface to guarantee a smoother finish.
As for melamine or laminate, these non-porous surfaces typically require a good cleaning and a light sanding to help the paint adhere more effectively.
Time-Saving Techniques
- Batch Process: When painting multiple pieces or parts, line them up and do each step (cleaning, sanding, painting) to all of them before moving on to the next step.
- Minimal Coats: Apply chalk paint in thin, even layers. It dries quickly, allowing you to add additional coats sooner and finishing the project faster.
- Wrap Brushes: If you’re taking short breaks, wrap your brushes in plastic wrap to keep them moist and save time on cleaning and reloading with paint.
A DIYer should always remember that patience is vital.
Although these techniques save time, rushing through steps can affect the final outcome.
Allow paint to dry fully before applying wax or finishing touches to ensure a professional look.
Troubleshooting Common Issues
When it comes to restoring furniture with chalk paint, you might encounter a few hiccups along the way.
The key to success is knowing how to tackle these issues to achieve a flawless, lasting finish.
Bleed-Through Fix
You might notice unsightly stains bleeding through the paint, which can mar their project’s appearance.
The fix involves a simple process:
- Perform a patch test: Before you start, apply paint to a small area to check for bleed-through. If stains appear, then proceed to the next steps.
- Lightly sand the affected area: Fine-grit sandpaper helps to create a smooth base.
- Apply a clear shellac or high-quality primer: This blocks further bleed-through.
- Allow sufficient drying time: Before repainting, make sure to let the shellac or primer dry completely, following the manufacturer’s recommendations.
Avoiding Brush Marks
Brush marks can detract from their project’s smooth finish. Here’s how they can avoid them:
- Choose the right brush: A high-quality brush is essential for a clean application.
- Mind the paint consistency: If the chalk paint is too thick, you can thin it with water for a smoother application.
- Use even strokes: Apply the paint with consistent pressure and direction to minimize brush strokes.
Dealing With Sticky Drawers
Chalk paint can sometimes make drawers stick when you try to open or close them. To address this:
- Sand down the edges: Sanding the drawer edges ensures smoother operation.
- Wax or apply a clear coat: Finishing the sanded areas with a protective wax or a clear coat will reduce friction.
- Check the drying time: Make sure everything is fully dry before reassembling the drawers to prevent sticking.